
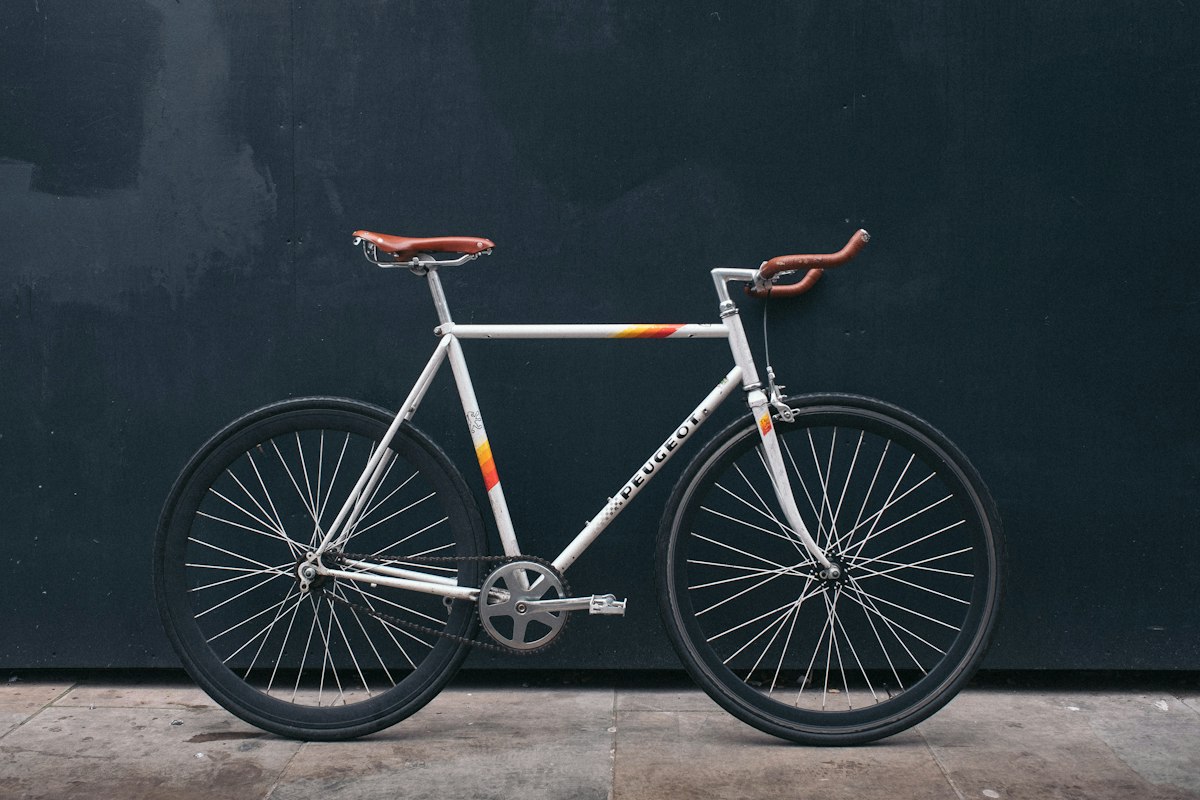
A mechanical failure on a remote trail or in the middle of a city commute can ruin your day — and in some cases, it can be genuinely dangerous. The good news: most bike problems are either preventable or caught early with a simple pre-ride check. The whole routine takes under five minutes once you know what to look for.
The M-Check
Professional mechanics use the "M-Check" — a visual inspection that traces an M-shape across the bike, ensuring you don't miss anything. Here's how to do it:
1. Front Wheel & Tyre
Start at the bottom left. Squeeze the tyre — it should feel firm with just a small amount of give (road bikes: 80–120 PSI; mountain bikes: 25–40 PSI; hybrids: 50–70 PSI). Spin the wheel and check it's running true — no wobble side to side. Confirm the quick-release or bolt is tight.
2. Headset & Fork
Apply the front brake and rock the bike forwards and backwards. Any clunking means a loose headset — a workshop job. Lift the front wheel slightly and turn the bars — they should move freely without resistance.
3. Frame
Give the frame a quick visual scan for cracks, especially around welds and the bottom bracket shell. On carbon bikes, tap the frame lightly — a dull thud can indicate delamination.
4. Saddle & Seatpost
The saddle should be level and at the correct height (slight bend in the knee at the bottom of the pedal stroke). Grab the saddle and try to twist it — it shouldn't move. Check the seatpost clamp is tight.
5. Rear Wheel & Tyre
Repeat the tyre check for the rear. Check the rear quick-release or thru-axle is secure.
Brakes
Squeeze each brake lever fully — there should be at least 1–2 fingers' width between the lever and the handlebar. Spin each wheel and apply the brake: it should stop instantly without rubbing when released. Check brake pads haven't worn through to the metal.
Drivetrain
Lift the rear wheel, turn the cranks, and shift through all gears. Changes should be smooth and immediate. The chain should be lightly lubricated — not dripping wet (attracts dirt) and not dry and squeaky.
"A clean, well-lubricated chain is the single biggest thing you can do to extend the life of your bike's drivetrain. It's a £5 job that saves hundreds in replacement costs."
Quick Fix Kit — Always Carry These
- 2× inner tubes (correct size for your wheels)
- Tyre levers (2–3)
- Mini pump or CO₂ inflator
- Multi-tool with Allen keys and chain tool
- Zip ties and a small piece of duct tape
- Nitrile gloves (trust us)
Developing the pre-ride habit takes a week or two, then it becomes second nature. Your bike will last longer, your rides will be safer, and you'll spend more time cycling and less time pushing.


